Thinking about moving into a bigger home? Upsizing is an exciting milestone, whether you’re welcoming new family members, craving more space, or simply ready for a change. But before you make the leap, it’s crucial to pause and ask yourself some important questions. The right answers will help ensure your next move is a smart, satisfying, and financially sound decision. Here are the top questions to consider before upsizing:
What Problem Are You Trying to Solve?
Start by identifying the core reason behind your desire to upsize. Are you struggling with a lack of space, needing a home office, or hoping for a larger yard? Maybe you’re thinking about long-term investment potential. Understanding your true motivation will help you focus your search and avoid costly mistakes down the line.
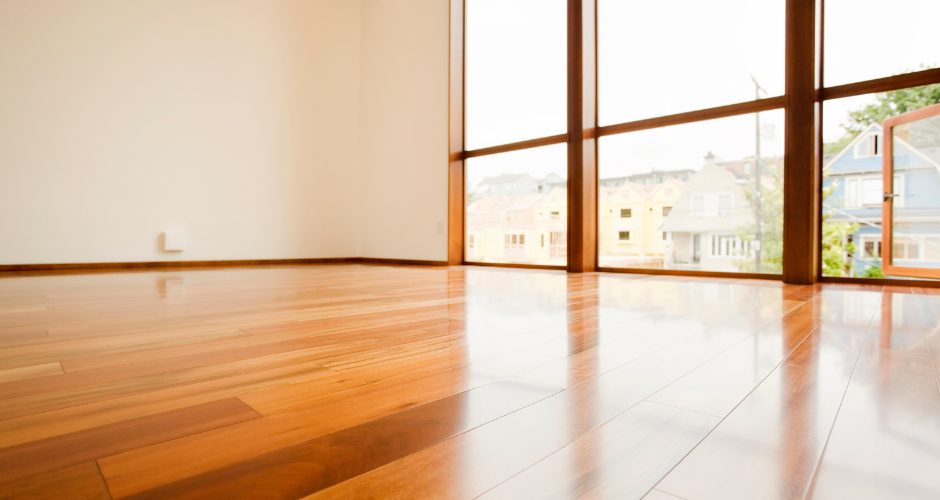
Do You Really Need More Space—or Just Different Space?
It’s easy to think a bigger home is the answer, but sometimes reconfiguring or renovating your current property can solve your issues. Could an extension or open-plan renovation provide what you need? Weigh the pros and cons of moving versus upgrading your existing home or making a more lateral move before making a decision.
What’s Your Budget—Now and in the Future?
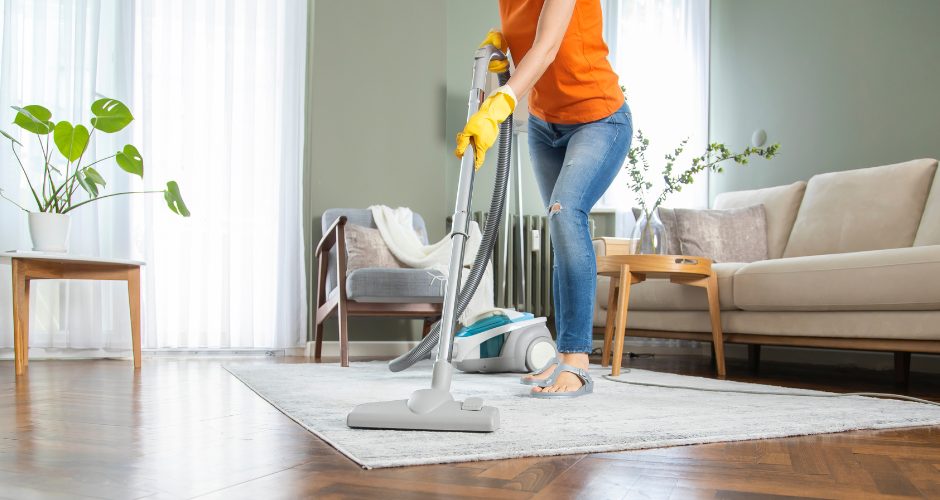
A larger home means higher costs: not just a bigger mortgage, but increased utility bills, property taxes, insurance, and maintenance. Make sure you’re comfortable with these ongoing expenses, not just the purchase price. Consult with a mortgage broker or financial adviser to understand your borrowing power and future-proof your budget against rising costs.
How Long Do You Plan to Stay in Your Next Home?
Think about your long-term plans. If you’re upsizing for growing children, will you still need all that space in five or ten years? Consider whether your new home will suit your lifestyle as your needs evolve, so you’re not moving again sooner than you’d like.
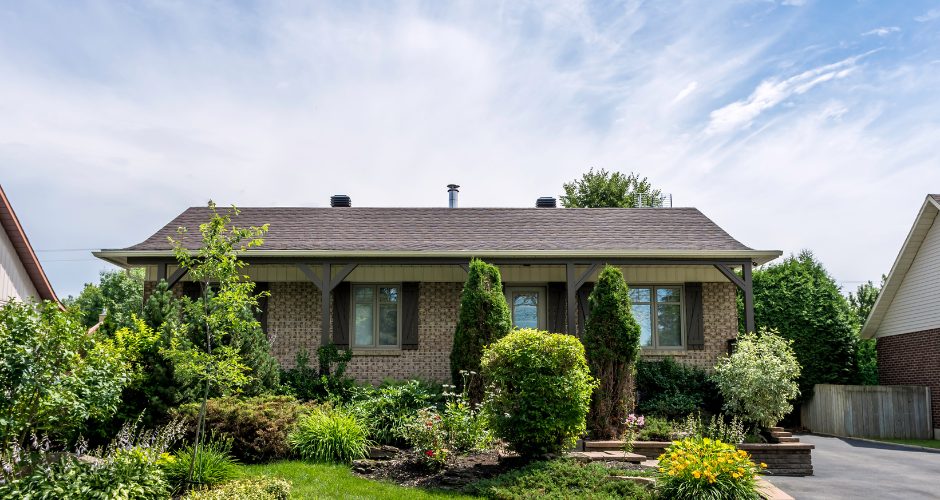
Is the Location Right for Your Lifestyle?
A bigger home in the wrong location can quickly lose its appeal. Research neighbourhoods for access to schools, transport, work, and amenities that matter to you. If you love your current area, consider whether you can upsize nearby or even renovate instead.
What Are the True Costs of Moving?
Don’t forget about the hidden costs: legal fees, agent commissions, moving expenses, and the cost of furnishing a larger space. Make sure you factor these into your overall budget to avoid surprises.
Are You Buying for Today or the Future?
Picture your life over the next 5–10 years. Will your new home still fit your needs as your family grows, your work situation changes, or your interests evolve? Upsizing is a big investment, so make sure your next home supports the lifestyle you’re building toward—not just the one you have today.
Final Thoughts on Upsizing
Upsizing can be a fantastic way to enhance your lifestyle and invest in your future, but it pays to approach the decision thoughtfully. By asking yourself these key questions, you’ll be better equipped to make a move that truly fits your needs, your budget, and your dreams.
If you’re considering upsizing, reach out for a personalized consultation. I’m here to help you navigate every step of the process and find the perfect home for your next chapter.
Ready to upsize with confidence? Let’s talk about your goals and make your move seamless!
Looking to buy, sell, or invest? As your REALTOR®, I’ll guide you every step of the way. Contact me today to schedule a free consultation and let’s turn your real estate dreams into reality!
For more information, contact:
Susan Moffat, REALTOR® with Century 21 In-Studio Realty Inc., Brokerage
519.377.5154
susan.moffat@c21.ca

 Facebook
 X
X
 Pinterest
 Copy Link


")
