
 Facebook
 X
X
 Pinterest
 Copy Link
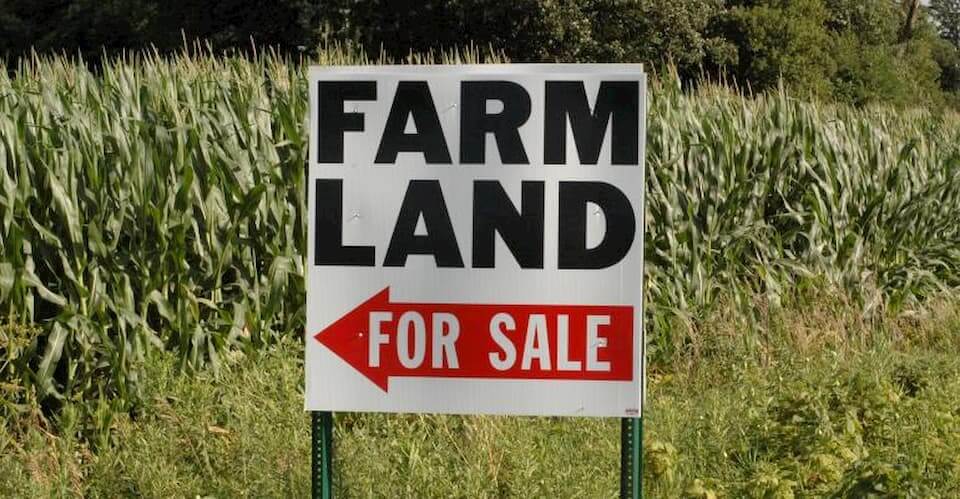
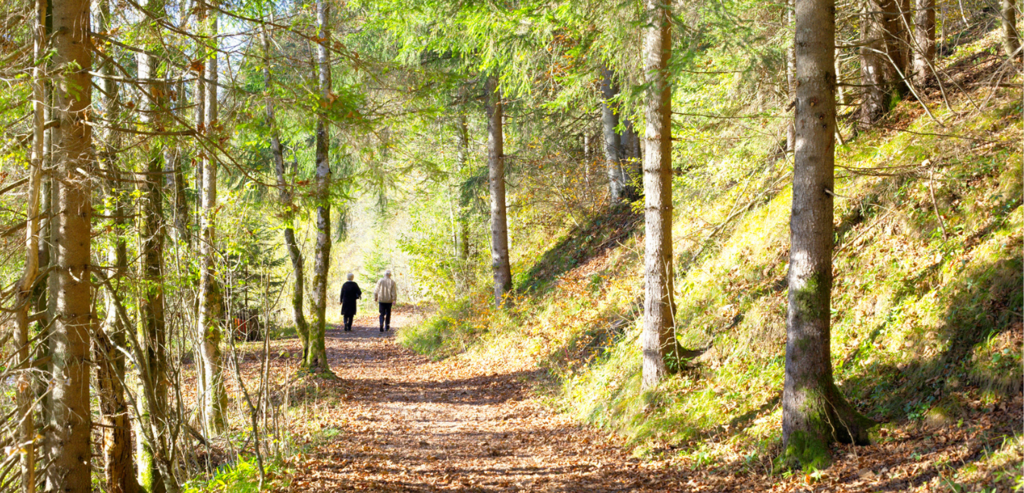
Buying a Farm in Grey & Bruce Counties • Farming Topics •
18 August 2021
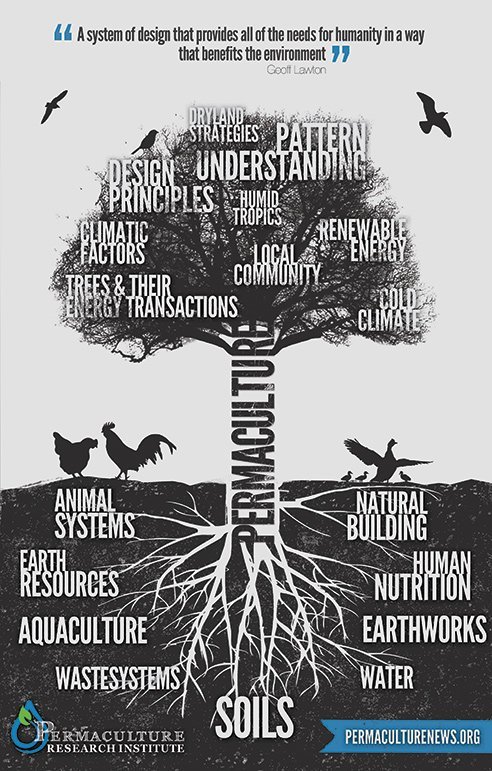
What is Permaculture?
As sustainable agriculture and green lifestyles become part of the mainstream conversation, the ideals and concepts of a largely underground social movement have been highly influential: permaculture.
What is permaculture?
Bill Mollison, a professor of biogeography and environmental psychology at the University of Tasmania, first coined the term in 1978 and defined it as follows:
“The conscious design and maintenance of agriculturally productive systems which have the diversity, stability, and resilience of natural ecosystems. It is the harmonious integration of the landscape with people providing their food, energy, shelter and other material and non-material needs in a sustainable way.”
In other words, permaculture is a holistic and sustainable worldview, as well as a technical approach.
The word “permaculture” was intended as a contraction of the words “permanent” and “agriculture.” The root word “permanent” is used to refer to sustainability. Today, permaculture has been expanded to include the meaning of “culture.” Practitioners are known as permaculturists or permies.
What are the principles of permaculture?
Bill Mollison and his graduate student, David Holmgren, developed the principles and practices that are now taught around the world in the Permaculture Design Course, typically a two-week immersive experience held on a permaculture farm or property.
Five of the more well-known principles are closed-loop systems, perennial crops, multiple functions, eco-earthworks, and letting nature do the work for you.
Closed-Loop Systems
Any system that provides for its own needs is inherently sustainable. This concept can include things like biofuels and solar power to what permaculturists call “inputs,” like food and fertilizer.
For example, rather than bringing in fertilizer to a farm or garden from elsewhere, a system could serve its fertility needs from livestock manure or cover crops. Livestock could be fed from grain and forage crops on the land, as well as vegetable and food scraps usually disposed of during meal prep.
Permaculturists like to talk about how a successful closed-loop system “turns waste into resources” and “problems into solutions.” Bill Mollison was fond of saying, “You don’t have a snail problem. You have a duck deficiency.”
Perennial Crops
Tilling the ground once or twice a year isn’t particularly good for the soil. Perennial crops that are planted just once are a better choice than annual crops that require constant tillage.
Agroforestry (the cultivation of edible tree crops and understory plants) is emphasized in permaculture. An example of this is shade-grown coffee or cacao plantations in South America. One challenge to this method is that most of us eat only a few perennial crops. However, if we could replace all the monoculture crops in the world (corn, soy, and wheat) with agroforestry systems, agriculture would be much more sustainable.
Multiple Functions
One of the more unique ideas of permaculture is that every component of a structure or landscape should perform more than one function. An integrated, self-sufficient system can be achieved through strategic design and placement of components. Permies call this “stacking functions.”
For example, if you need a fence to contain animals, you could make it work as a windbreak, a trellis, and a reflective surface to direct extra heat and light to nearby plants.
Another example: a rain barrel could be used to collect water, as well as raise aquatic food plants and edible fish.
Eco-Earthworks
Water conservation is a major focus on permaculture farms and gardens. The earth is often carefully sculpted to use every last drop of rain for a useful purpose. This may take several forms:
-
terraces on steep land
-
swales on moderately sloped land (broad, shallow ditches that capture runoff and allow it to soak into the ground around plantings)
-
systems of canals and planting berms on low swampy ground
This last method is modelled on the chinampas of the ancient Aztecs, a way of growing food, fish, and other crops in an integrated system. Permaculturists often talk about this approach as the most productive and sustainable form of agriculture ever created.
Let Nature Do the Work for You
Permaculture is maybe best captured in the Mollisonian ideas of “working with, rather than against, nature” and engaging in “protracted and thoughtful observation, rather than protracted and thoughtless labour.”
In practice, this means employing methods like chicken tractors that harness the natural scratching and bug-hunting behaviour of hens to clear an area of pests and weeds in preparation for planting.
Another technique is planting mashua under locust trees. Locust trees are known for adding nitrogen to the soil. Mashua, a vining, shade-tolerant root crop from the Andes, needs a support structure to grow on. Planted together, the locust tree and the mashua benefit from each other. The locust trees also provide shade, serve as a nectar source for bees, and are aesthetically pleasing.
Buying a Farm in Grey & Bruce Counties • Farming Topics •
3 August 2021
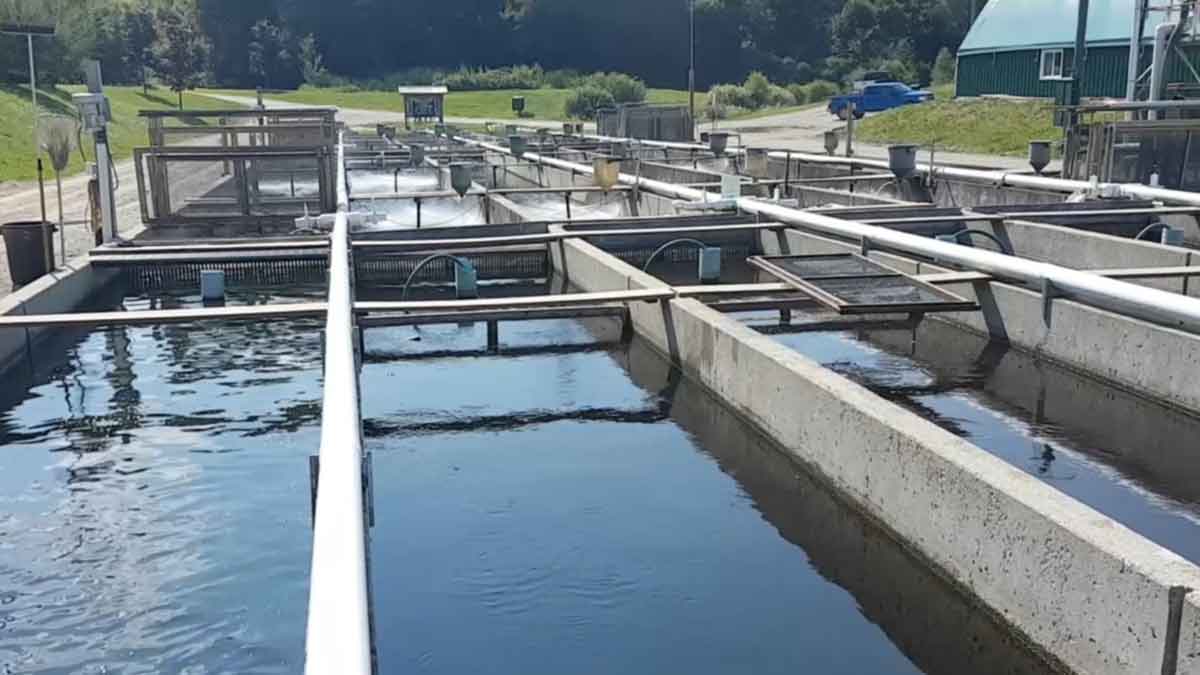
What is Aquaculture?
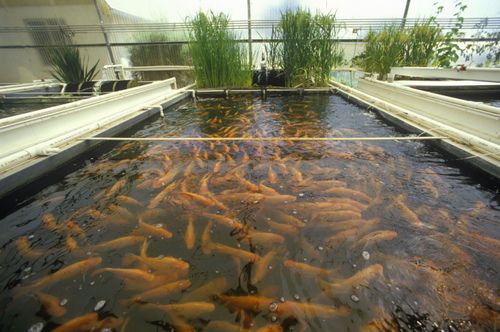
Today, about half of all our seafood comes from aquaculture. It is predicted that by 2030, that number will rise to 62%. As the human population grows and the world becomes more aware of the need to act more sustainably, what role does aquaculture play?
What is aquaculture?
Aquaculture is fish farming. It’s very similar to agriculture, but with fish instead of plants or livestock.
How does aquaculture work?
Aquaculture can be done in freshwater ponds and rivers, coastal ocean waters, or simply in tanks of water.
The methods of aquaculture can differ from species to species, but there are typically four stages:
-
Fish are bred and eggs are hatched at a hatchery
-
Once the fish are mature enough, they are moved to a farm where they grow to harvest size using feed produced at feed mills
-
The fish go to a processing facility where they are packaged
-
The packaged fish are sent to food retailers and grocery stores
Why is aquaculture important?
Our oceans are being overfished, and we need new sources of seafood to feed the planet’s growing population. Farming fish responsibly and sustainably is one way to provide healthy and environmentally friendly protein options. Aquaculture also has lower greenhouse gas emissions than other types of farming.
Aquaculture has the potential to improve the health of the planet, as well as human health. It is highly resource-efficient: it has the highest protein retention and the lowest feed conversion ratio compared to chicken, pork, and beef.
Where is aquaculture happening in Grey & Bruce counties?
There are a number of fish farms in our area: Blue Spring Trout Farms (Hanover), Camp Creek Trout Farm (south of Durham), Wilmer Trout Ponds (north of Durham), and Springhills Fish Farm. Springhills is a large Grey County operation with properties near Allan Park and Williamsford and is one of the biggest fully integrated trout farms in central Canada.
Most recently, there is a proposal by Georgian Bay Innovation Group to create a land-based recirculating aquaculture system near Colpoy’s Bay in Wiarton.
Buying a Farm in Grey & Bruce Counties • Farming Topics •
30 July 2021
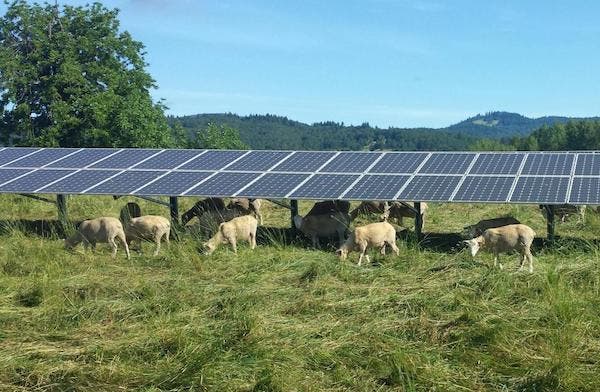
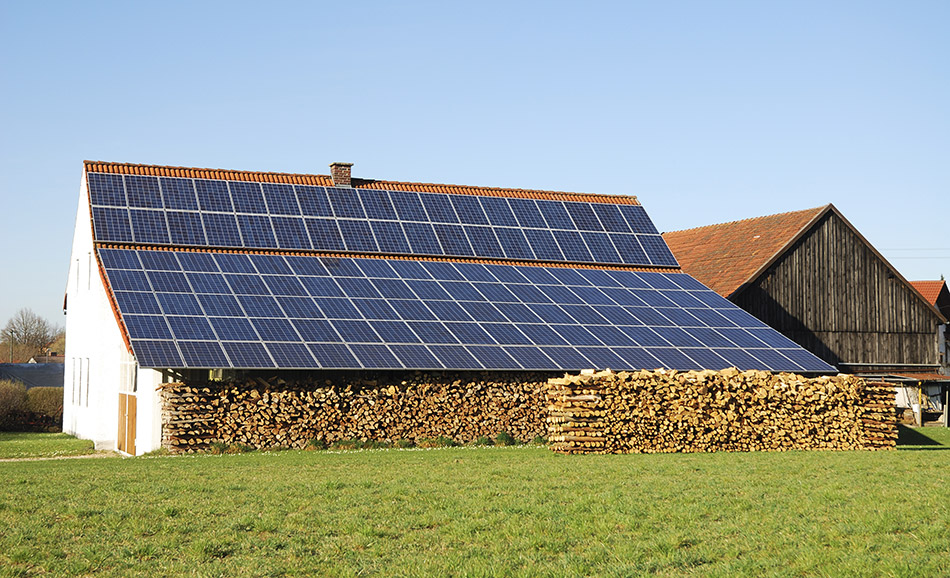
Should I Install Solar Panels On My Property?
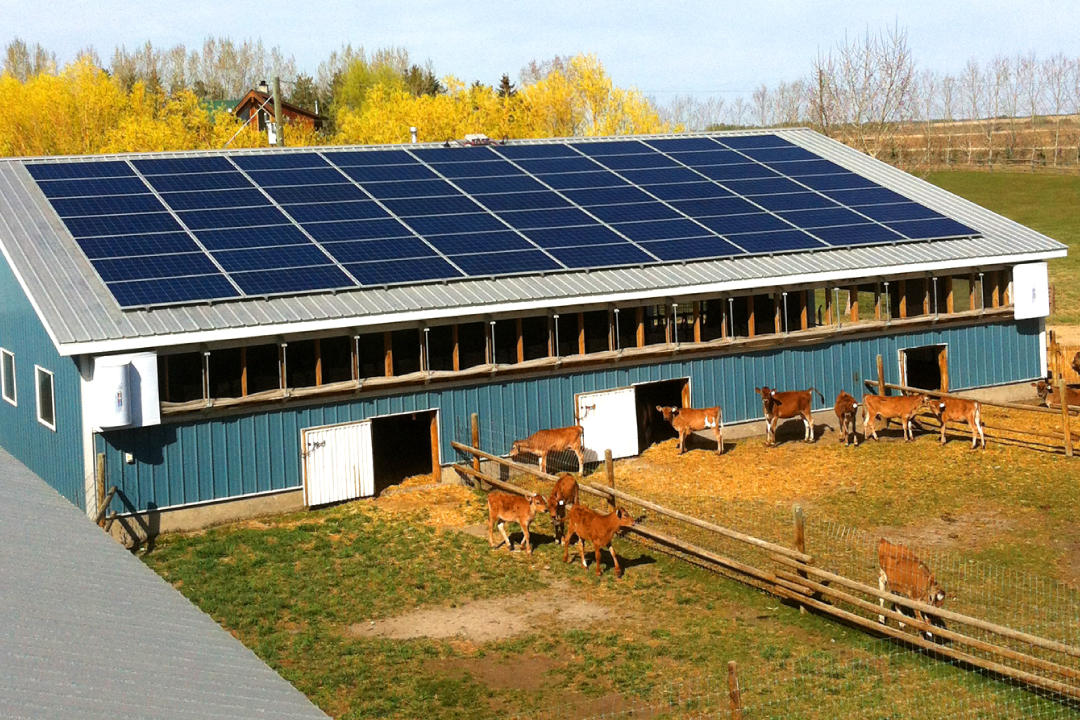
“Solar energy isn’t a trend, it’s the future. One of the best things we can do is use it.”
—Mike Holmes, Canadian homebuilder and TV host
In the last decade, solar panel installations have gone up on many roofs around the world. Here in Ontario, the provincial government is encouraging residents to use solar and other forms of renewable energy to reduce their consumption of public electricity. Although Ontario plans to upgrade the public grid and add new power generation, the province considers self-generated power from solar to be a key way to meet future energy needs.
How do solar panels work?
Solar panels work by capturing photons from sunlight and converting them into direct current (DC) electricity. When there is more direct sunlight, more photons hit the solar panels and more electricity can be generated.
Solar panels generate DC power, but the appliances in our homes need alternating current (AC) power. DC power must be changed to AC power with an inverter.

What are the initial costs of a solar panel system?
That depends on your roof orientation, how many panels will fit, and the best location to capture sunlight. Another consideration is whether to set up your system to feed into the electric grid or go “off-grid” by storing extra energy in large batteries. A solar installation company can help you think about all these factors.
For a typical 7,500 kW system, the average cost of a home solar power system in Canada is between $15,000 and $30,000. Rebates to offset the cost of installation are sometimes offered by the provincial government.
How can solar panels save me money?
In the recent past, Ontario offered to buy electricity generated by solar panels on private property. That program has ended but there are still financial incentives for installing solar power systems.
Currently, Ontario is running the Net Metering program. Power produced by solar panels is used in your home, but if there is extra energy, it’s exported to your electricity provider for a credit. You can use this credit your future power use for up to 12 months.
Because a solar panel system can produce anywhere from 20% to 100% of your home’s annual power needs, you may not need to pay anything for your hydro bill except the standard fee to remain connected to the grid (typically $30 to $40).
As electricity rates increase every so often, your solar electricity effectively gets cheaper.
A solar panel system generally gives you a 5-10% return on investment. Because solar panels last 30 years or more, this is a financial investment that is similar to taking out a long-term GIC.
How long will solar panels last?
Most solar panels are guaranteed to produce 80% of their original energy output when they are 25 years old and should keep running well for up to 30 or 40 years. During that time, they shouldn’t need a lot of maintenance.
You can typically clean solar panels just like you wash your windows. If you keep them clean and don’t allow dirt, etc., to settle on them for too long, you shouldn’t have any problems with your solar panels.
You can also install a monitoring system to keep track of the energy performance, which will alert you that electrical maintenance is needed.

What are some of the pros & cons of solar panels?
People choose to install solar for a variety of reasons. There are many financial, civic, and environmental benefits to renewable energy.
Pros
-
100% renewable energy
-
save money on monthly energy bills
-
enhanced property value
-
solar panels should last 30 to 40 years
-
low maintenance
-
5-10% return on investment
Cons
-
initial investment may be unaffordable
-
roof orientation may be inefficient for solar panels
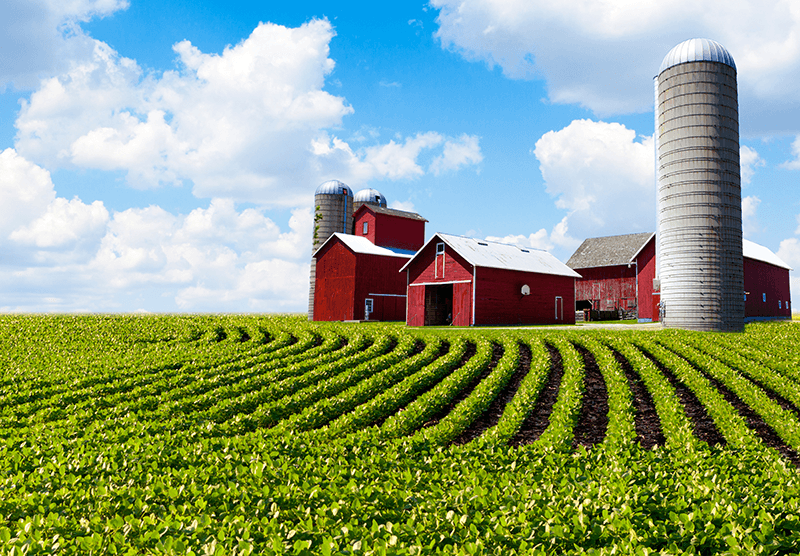
Buying a Farm in Grey & Bruce Counties • Tax Benefits for Landowners •
28 July 2021
Is HST Charged on Farm Sales?
As a general rule, farmland is taxable unless there is an exemption. If no exemptions apply, the buyer and seller may choose to decline the Harmonized Sales Tax (HST) if certain conditions are met.
What is the CRA definition of farmland?
The Canada Revenue Agency (CRA) generally considers farmland to mean land that is regularly used to earn or produce income from a farming business. It can also include vacant land like bush or forest and any buildings that are not used directly for a farming business.
What are the HST exemptions for farmland?
The following three situations qualify for an HST exemption:
Selling or transferring a farm to a related person (or former spouse or common-law partner) for their individual use and enjoyment. The farmland must have been used for farming at some time prior to the transfer and not used for any other commercial activity immediately before the transfer.
A partnership, trust or corporation selling a farm to a partner, beneficiary, shareholder or relative for their personal use and enjoyment. Immediately before the transfer, 90% or more of the property should be used for farming. The partner, beneficiary, shareholder, spouse, or child of that individual should be actively engaged in the business of the partnership, trust, or corporation.
An individual or a trust selling or transferring personal use property. The exemption applies to farmland that has not been used primarily for farming but not for land held by corporations or partnerships. It also does not apply if the property has been previously subdivided or severed into more than two parts, unless these portions were sold to a related person or former spouse/common-law partner for their personal use and enjoyment.
When can sellers and buyers choose not to charge/pay HST on farmland?
There are two situations when HST payment can be declined:
Selling an ongoing farming business. The farmer and the purchaser may jointly choose to decline the HST payable by completing form GST44. The buyer must buy 90% or more of the property required to carry on the business. This choice is not available when the seller is registered for the HST, but the buyer is not.
Estates – the estate of a deceased individual and the beneficiary may decide together to have no HST payable if one of these conditions is met:
-
the deceased used the farmland in a business right before death
-
the estate is transferring the business assets according to the will or applicable laws to a beneficiary and an HST/GST registrant
-
the farmland is used in a business by the beneficiary

How is HST collected on farmland sales?
Unless farmland is eligible for one of the exemptions or choices described above, the sale of farmland used primarily in a farming business will be taxable. However, the collection of the HST can occur in one of the two scenarios below.
What happens if you are selling farmland to a person who is registered for HST?
In this case, the seller is not required to collect HST. The buyer reports the HST payable and claims an offsetting input tax credit on their next HST return. Buyers who are using 90% or more of the farmland in a farming business can claim a full input tax credit.
In this kind of situation, it’s prudent for the seller to confirm if the buyer is registered for HST at the time of the sale.
What happens if you are selling farmland to a person who is not registered for the HST?
In this scenario, the seller is required to collect the HST and pay it to the CRA. If farmland will be used in a farming business, the purchaser can register for HST and claim an input tax credit to recover this amount. Normally, the CRA will backdate a registration for up to 30 days.
Is HST charged on houses on a farm?
When farmland is sold with a residence or house, the sale is considered to be two separate sales: (1) the portion including the house plus any land required for the use and enjoyment of the house, and (2) the rest of the land. The sales of used houses are generally exempt from HST.
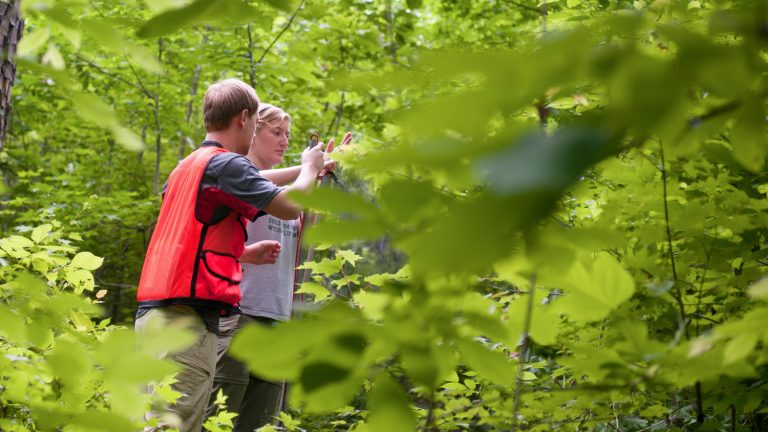
Buying a Farm in Grey & Bruce Counties • Farming Topics • Tax Benefits for Landowners •
26 July 2021
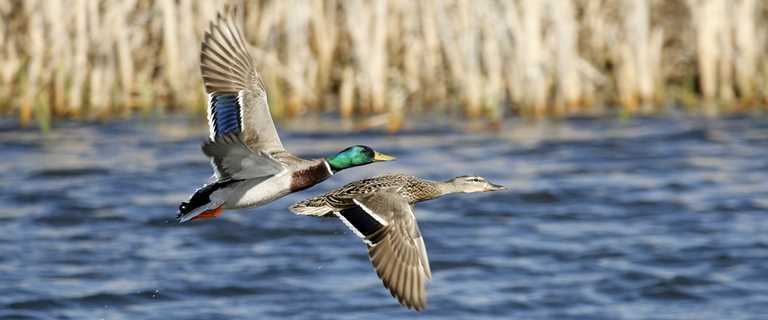
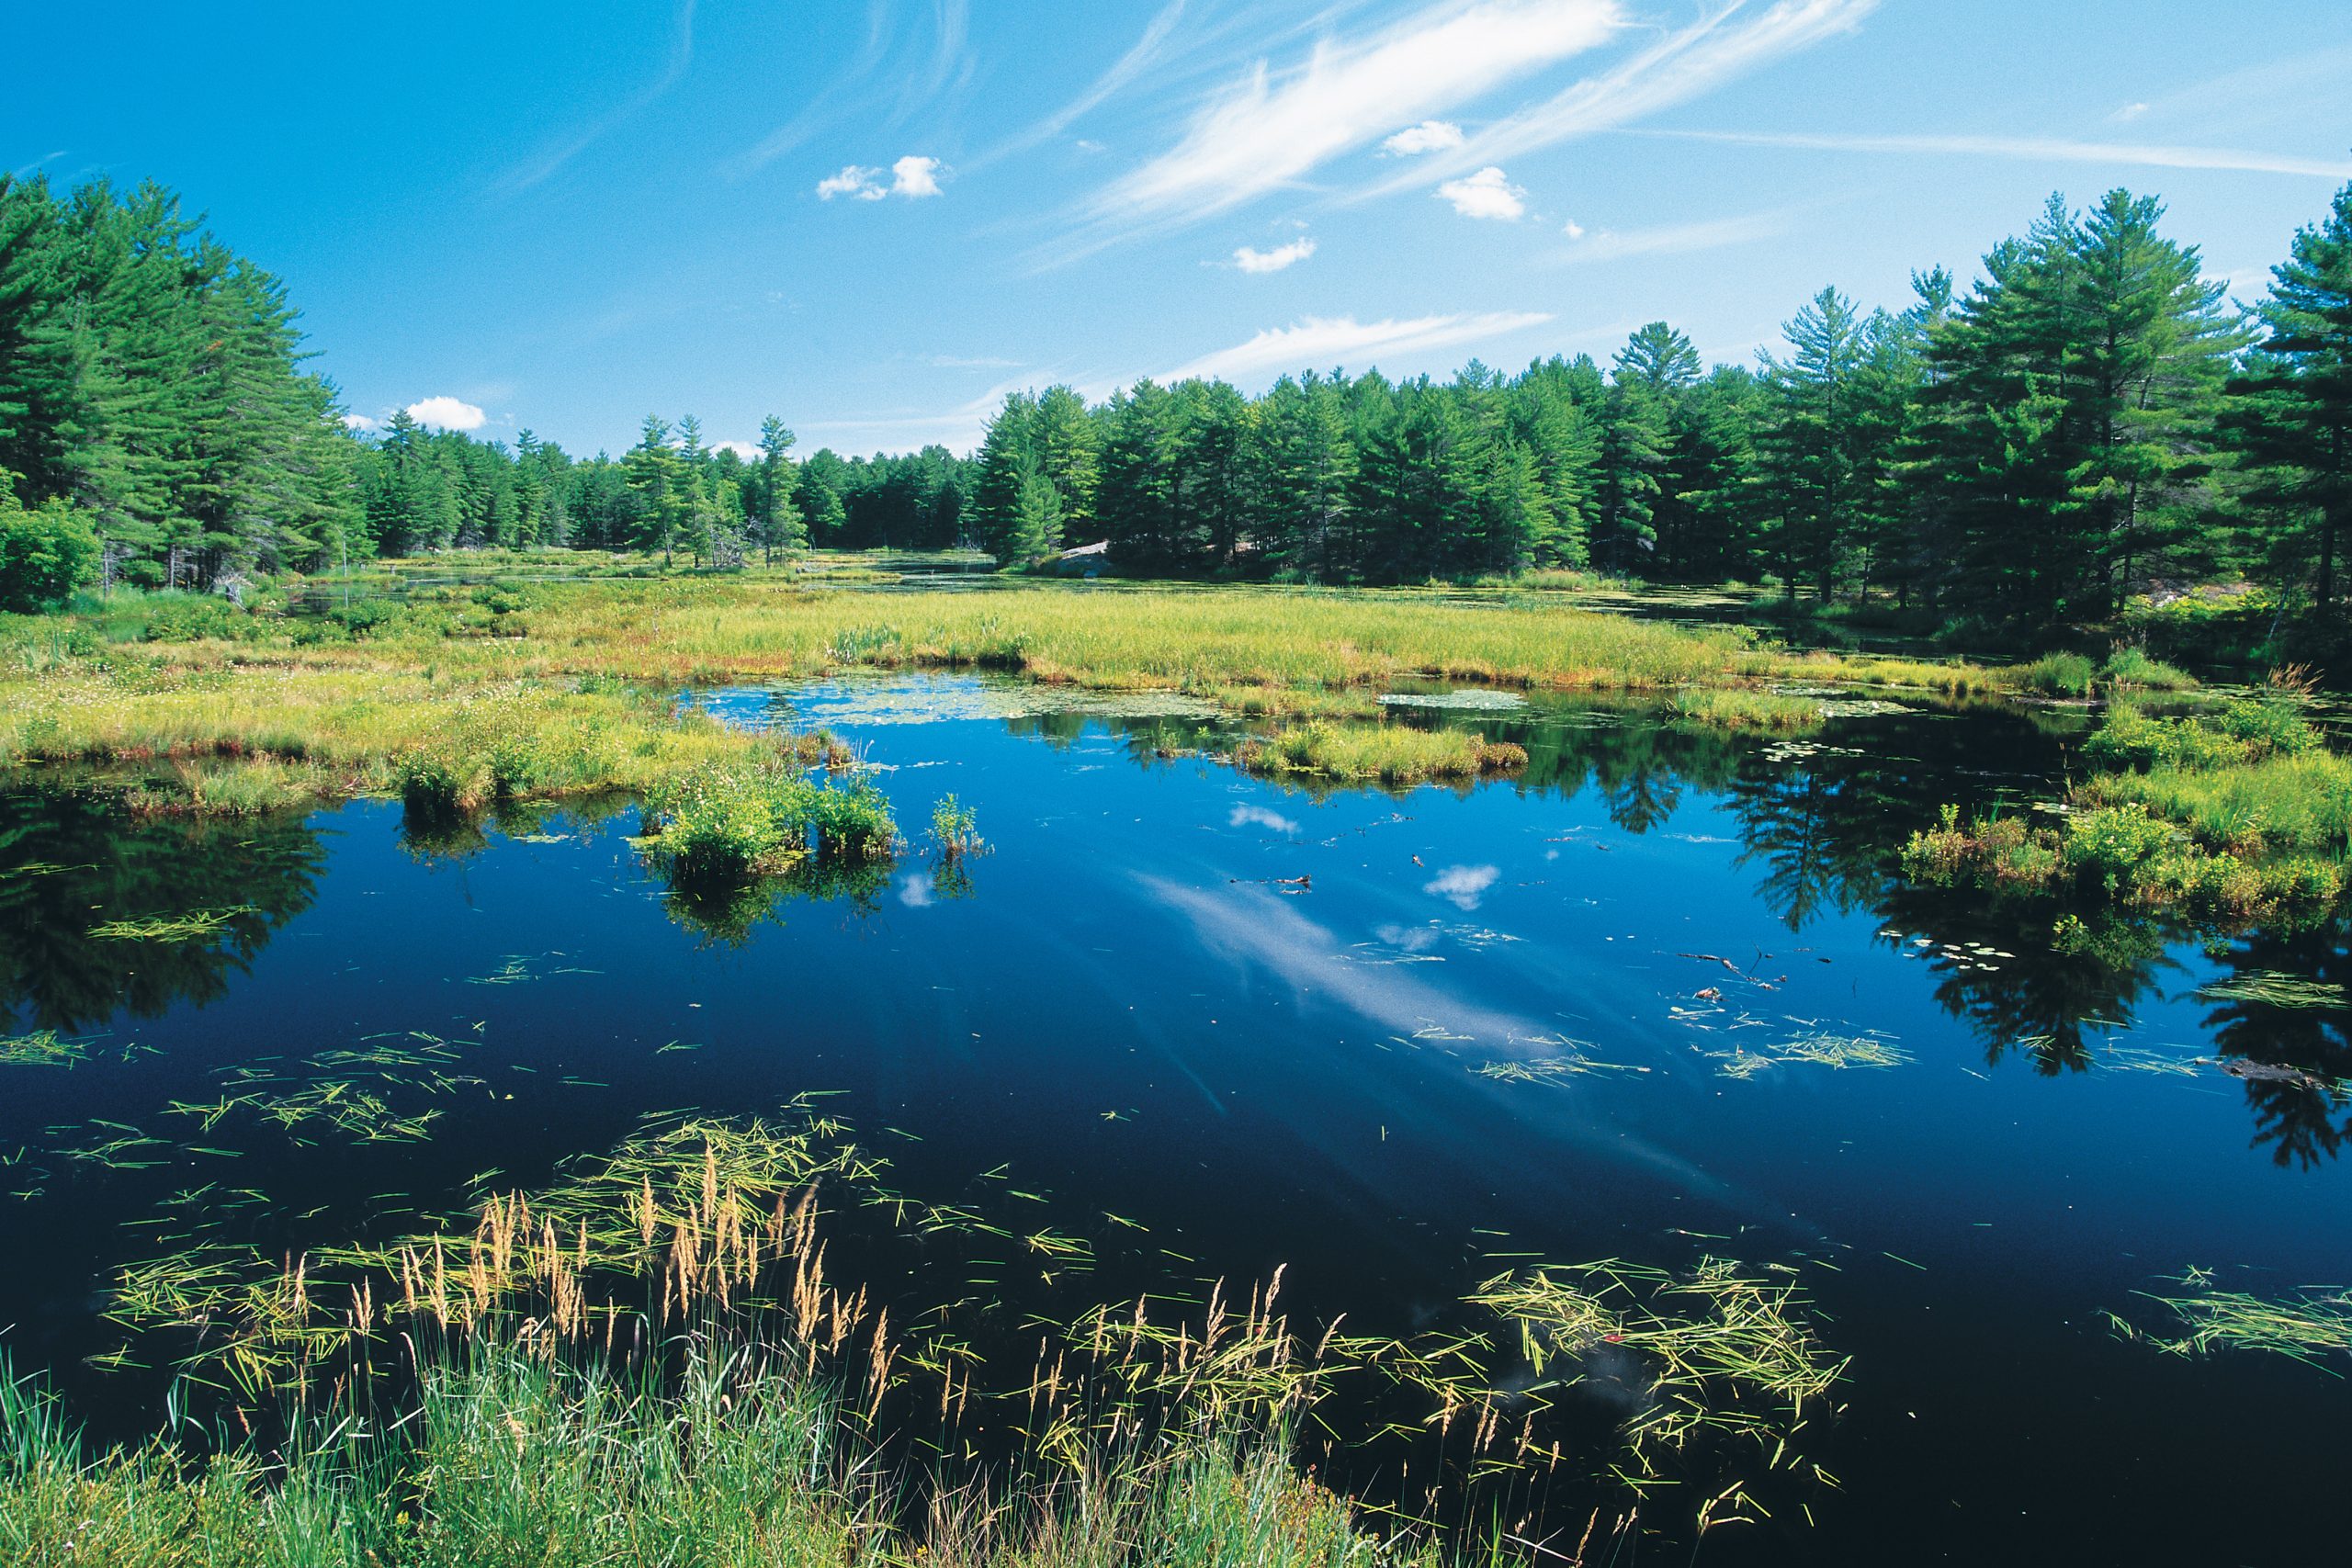
Tax Benefits for Landowners through Ducks Unlimited
Are you completing a Managed Forest Plan for your southern Ontario property? Do you have an existing wetland on your property? Ducks Unlimited Canada (DUC) can help you save money.
How can I get a tax benefit from Ducks Unlimited?
We talked about the Managed Forest Tax Incentive Program (MFTIP) in our last blog post. Ontario landowners who qualify for the MFTIP and have a wetland that meets certain criteria are eligible for a 40% reimbursement (up to $600) from Ducks Unlimited Canada toward their approved Managed Forest Plan.
This is a pilot partnership under the Ministry of Natural Resources and Forestry’s MFTIP program that includes DUC, the Ontario Woodlot Association, and forest landowners. This partnership is meant to help improve wetland stewardship in southern Ontario.
Is my wetland eligible for the Managed Forest Tax Incentive Program?
To be eligible, landowners must:
-
Complete a Managed Forest Plan through the MFTIP program (with a Managed Forest Plan Approver)
-
Identify an existing wetland in their Managed Forest Plan, which is a minimum of 5 acres (2 hectares) and provides waterfowl habitat
-
Be located within the southern Ontario eligibility area
-
Commit to a 10-year Conservation Agreement with DUC
The MFTIP program cannot overlap with other DUC conservation programs such as livestock exclusion fencing or installing wood duck nest boxes.
For more information, visit Ducks Unlimited’s website or contact Ducks Unlimited to speak with a conservation specialist. In Ontario, call (705) 721-4444 (Barrie) or email du_barrie@ducks.ca.

Can I donate land for a tax benefit?
Ducks Unlimited Canada is one of the few charities that accept land donations, primarily land that is considered ecologically sensitive.
To encourage the preservation of ecologically sensitive land, the Canadian Government provides enhanced tax incentives for gifts of land and conservation easements to DUC. These gifts of land offer substantial tax savings and eliminate capital gains that would normally be due if lands were sold.

How do I get started with land donation?
For more information, visit Ducks Unlimited’s website or contact one of the national planned giving managers, or contact your legal, tax or financial advisor. In eastern Canada, contact Janice O’Dette.
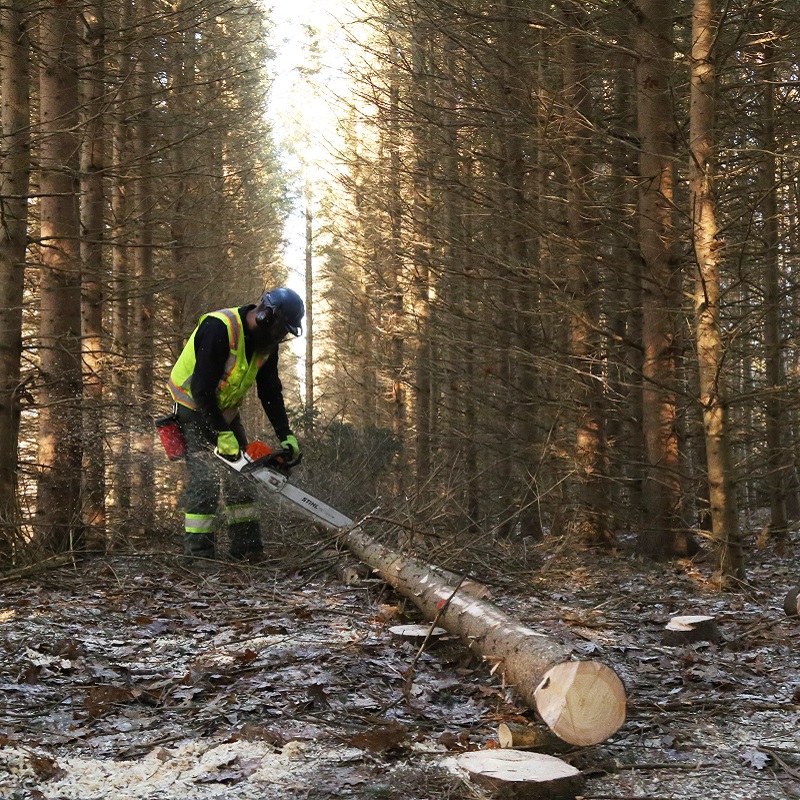
Buying a Farm in Grey & Bruce Counties • Farming Topics • Tax Benefits for Landowners •
23 July 2021
What is the Managed Forest Tax Incentive Program?
Do you have some bush or forest area on your rural property? You may be eligible for tax relief when you follow an approved Managed Forest Plan. This blog post will provide a brief overview of the Government of Ontario’s Managed Forest Tax Incentive Program (MFTIP).
How does the Managed Forest Tax Incentive Program work?
Landowners who arrange for their property to be classified as a ‘Managed Forest’ only pay 25% of the municipal tax rate for residential properties.
Participants create and follow a 10-year Managed Forest Plan that explains how they will manage their forest property responsibly. The plan needs to be examined and accepted by a Managed Forest Plan Approver.
To stay in the program, participants submit a 5-year progress report and update their management plan every 10 years.
Who is eligible for the Managed Forest Tax Incentive Program?
Participants need to:
-
own 4 hectares (9.88 acres) or more of forested land on a single property in Ontario on one municipal roll number
-
be a Canadian citizen or permanent resident
-
be a Canadian corporation or partnership
-
be a trust or conservation authority
-
have a minimum number of trees on each hectare (acre) of forest
Residences, landscaped areas, and land used for residential or other purposes are not eligible.
How can I apply for the Managed Forest Tax Incentive Program?
Step 1: Read the MFTIP Guide to see if you qualify. A Managed Forest Plan Approver can verify your eligibility.
Step 2: Create a Managed Forest Plan that includes details about your property and how you will manage it.
Step 3: Have your plan reviewed and accepted by a Managed Forest Plan Approver.
Step 4: Complete the application form.
Step 5: Gather the following documents for your application package:
-
Managed Forest Plan
-
MFTIP 10-year application form
-
An area verification form for each property and an approval form, both completed by a Managed Forest Plan Approver
-
a copy of the most recent property assessment notice for each property (provided by the Municipal Property Assessment Corporation)
Step 6: Send the complete application package to:
Administrator
Managed Forest Tax Incentive Program
Ministry of Natural Resources and Forestry
5th Floor S
300 Water St
PO Box 7000
Peterborough ON K9J 8M5
When is the application deadline for Managed Forest Tax Incentive Program?
June 30 to qualify for the following year.
Where can I find more information about the Managed Forest Tax Incentive Program?
Visit the Government of Ontario website at https://www.ontario.ca/page/managed-forest-tax-incentive-program.
Email address: MFTIP@ontario.ca
Telephone number: 1-855-86-MFTIP (63847)
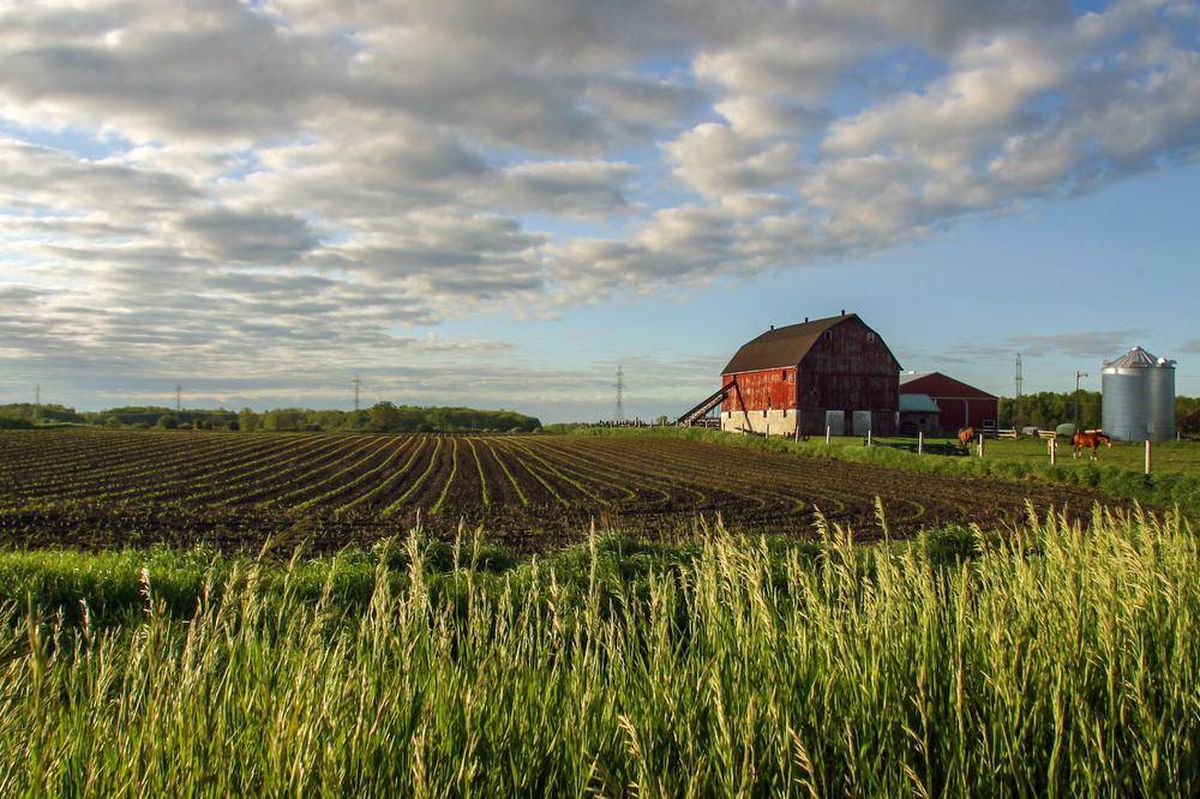
Buying a Farm in Grey & Bruce Counties • Farming Topics •
22 July 2021
What’s the Difference Between GMO and Organic Farming?
Are you confused about the difference between GMO and organic farming? Agriculture in Grey and Bruce counties uses both methods. Here’s a brief survey of the main differences between these two kinds of farming.
How is GMO food grown?
Genetically modified organisms (GMOs) are organisms whose genetic material (DNA) has been altered or modified in a way that would not happen naturally. In most cases, genetic engineering works by injecting an organism with genetic material from another species.
GMO seeds were introduced commercially in 1996 and are now very common for corn, soybeans, canola, and cotton.
GMO crops can be referred to as genetically engineered (GE), herbicide-tolerant (HT), or Bt crops. Herbicide-tolerant crops (“Roundup-ready crops”) are engineered to survive the use of one or more herbicide chemicals that would normally kill or severely stunt a crop. Bt crops are designed to produce toxins that kill certain insects.
GMO crops lower production costs for farmers and help crops resist plant diseases caused by insects or viruses.
How is organic food grown?
Organic farming follows strict government standards for growing food without toxic and persistent pesticides, herbicides, synthetic nitrogen fertilizers, antibiotics, synthetic growth hormones, antibiotics, genetic engineering, excluded practices, sewage sludge, irradiation, solvents, or additives.
Organic farming is heavily regulated and closely monitored for many factors, including soil quality, pest control, and animal raising practices. To earn organic certification, land must be worked without prohibited materials for at least three years. Organic farmers create an organic operating farm plan that is overseen by their certification agency with annual third-party inspections.
Organic farmers rely on hand weeding, mechanical control, mulches, cover crops, crop rotation, dense planting, and pasture grazing.
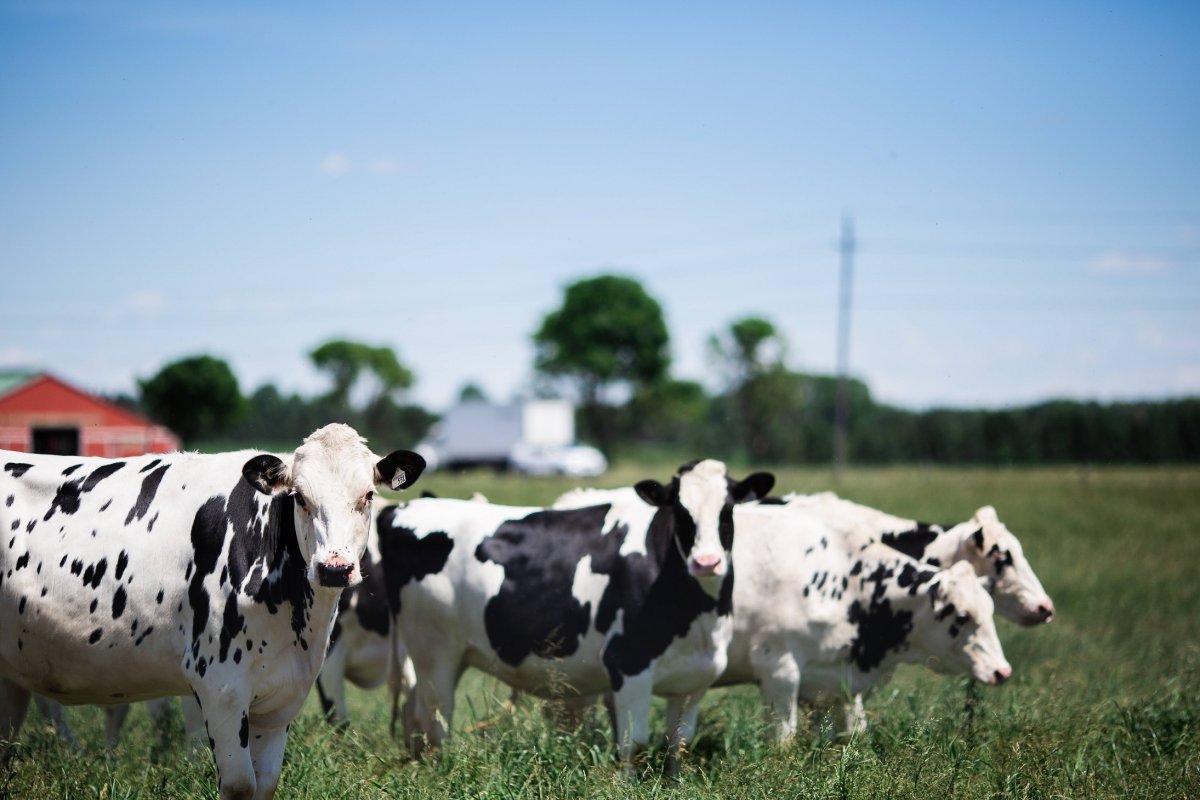
Organic livestock grown for meat, eggs and dairy products is raised without the use of antibiotics, synthetic growth hormones, or animal by-products. Farmers provide their animals with organic feed, cage-free living conditions, and access to the outdoors and pasture. For example, organic cows are required to graze on grass for a minimum of one-third of their lives.
Buying a Farm in Grey & Bruce Counties • Farming Topics •
20 July 2021
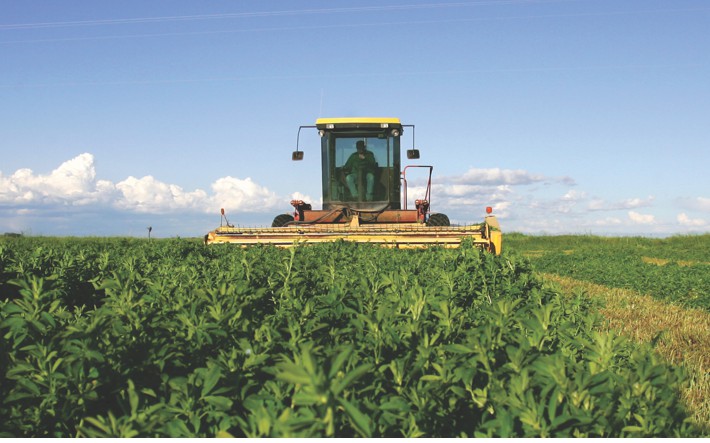
Soil Types in Grey & Bruce Counties
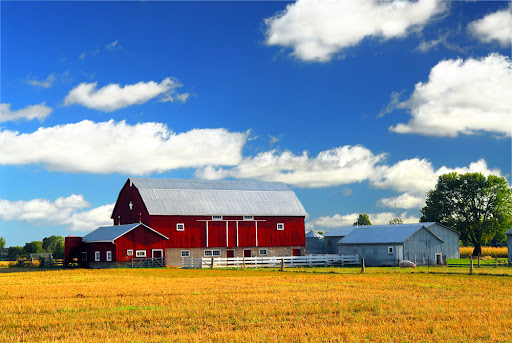
Grey and Bruce counties offer an abundance of farmland. This blog post will provide a brief overview of soil types in the region. For more detailed information and soil maps (like those pictured below), visit Ontario’s Ministry of Agriculture, Food, and Rural Affairs soils web page.
What are the soil types in Canada?
Canadian soil is classified into ten different orders based on the surrounding environment and on the composition of the soil. The soil types found in Grey and Bruce counties is shown in bold font.
-
Chernozemic (grassland soil)
-
Solonetzic (grassland soil)
-
Podzolic (forest soil)
-
Luvisolic (forest soil)
-
Brunisolic (forest soil)
-
Gleysolic (water-saturated soil)
-
Regosolic (unstable slopes, sand dunes, floodplains, etc.)
-
Vertisolic (high clay landscapes)
-
Cryosolic (soil with permafrost)
-
Organic (Boreal Forest soil)
What are the soil types in Bruce County?
Three distinct kinds of soil occur in Bruce County: Grey-Brown Podzolic, Brown Forest, and the Dark Grey Gleysolic. The Grey-Brown Podzolic soils are the dominant well-drained soils in the area. The surface soil is generally 3 to 4 inches thick, dark greyish brown to very dark brown, moderately friable, slightly to moderately acid, and moderately high in organic matter.
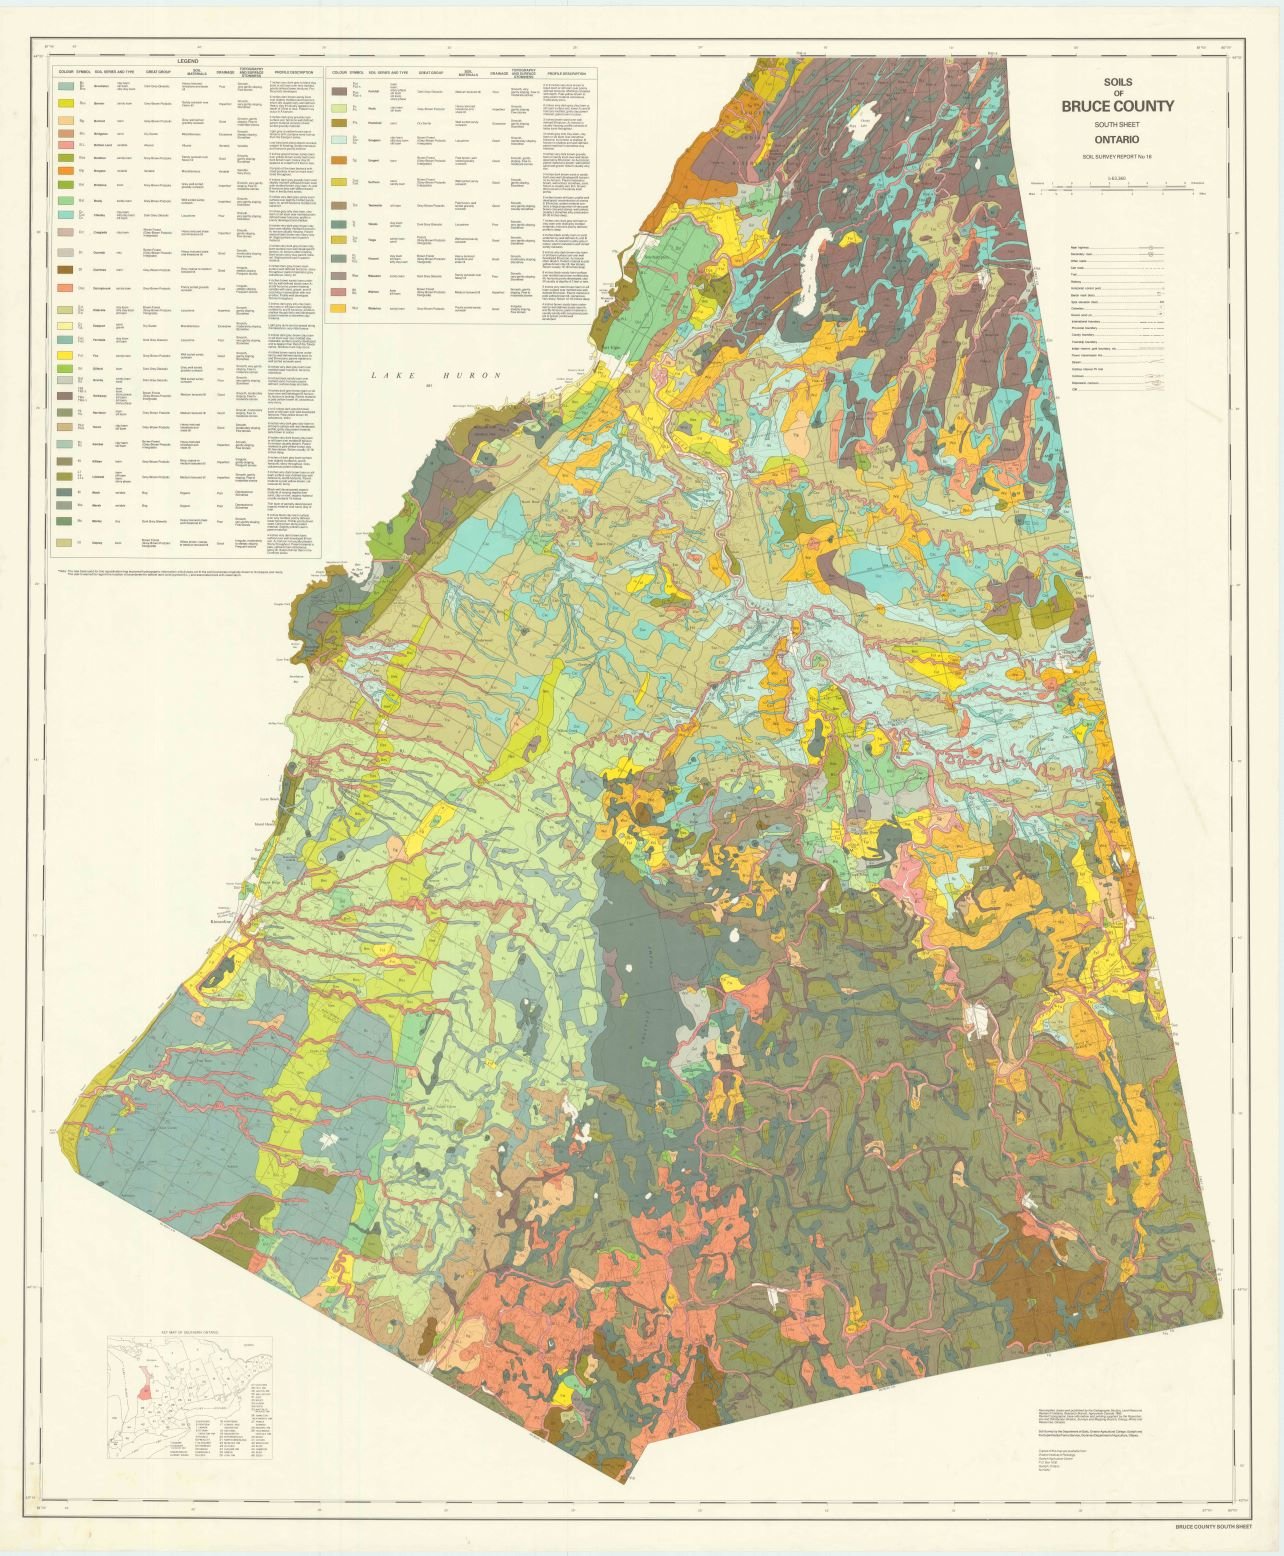
In the northern part of the county, the Bruce Peninsula is dominated by the Breypen land type, which consists primarily of exposed rock outcrop with small pockets of soil materials. Based on the Canada Land Inventory, which classifies land based on farming potential, most of the Bruce Peninsula has no agricultural capability because of surface stoniness and bedrock outcrops, topography, and poor soil drainage.
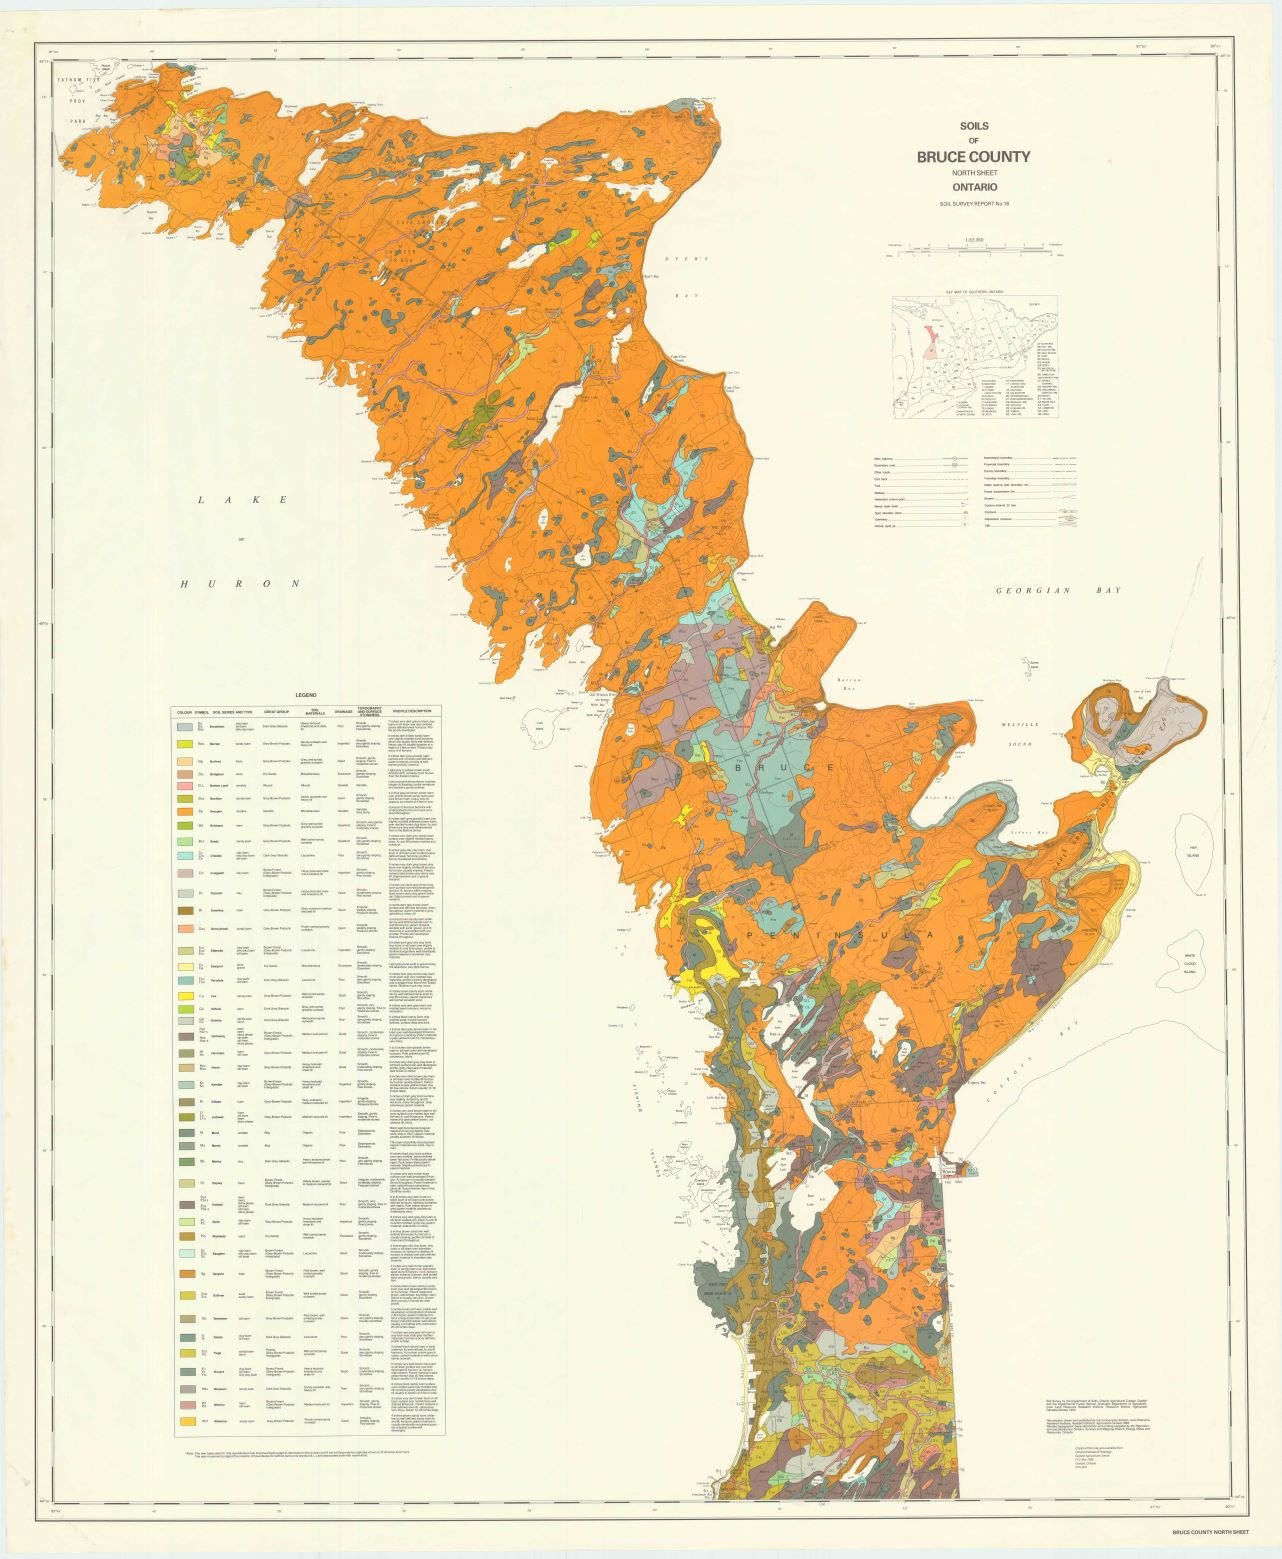
However, some areas in the central part of the Bruce Peninsula have been classified as Class 1-3 and are considered Prime Agricultural Lands. The well-drained Brown Forest soils in the area are usually 3 to 4 inches thick, dark grey, friable, and of granular structure. Soil types include clay loam in the Judges Creek area, silt loam at Ferndale and north of it, and sandy loam near Ferndale, Lion’s Head and Little Pike Bay.
What are the soil types in Grey County?
The soils of Grey County are very diversified due to differences in soil materials (clay, sand, and gravel), texture, drainage, topography, and climate.
In the southern half of the county, the soils developed under a temperate climate and mixed hardwood vegetation with the characteristics of the Grey-Brown Podzolic soil type. These soils developed on tills, gravels and sands with up to 4 inches of very dark brown silt loam.
In the northern half of the county, climate, soil materials, and age have resulted in shallow profiles with characteristics similar to the Brown Forest soil groups and are considered to be Brown Forest-Grey-Brown Podzolic Intergrades. These soils are found in well-drained locations in the northern half of the county that developed on till soils, gravels, and sands. Typical of the region is up to 3 inches of black loam with high lime stony till materials.
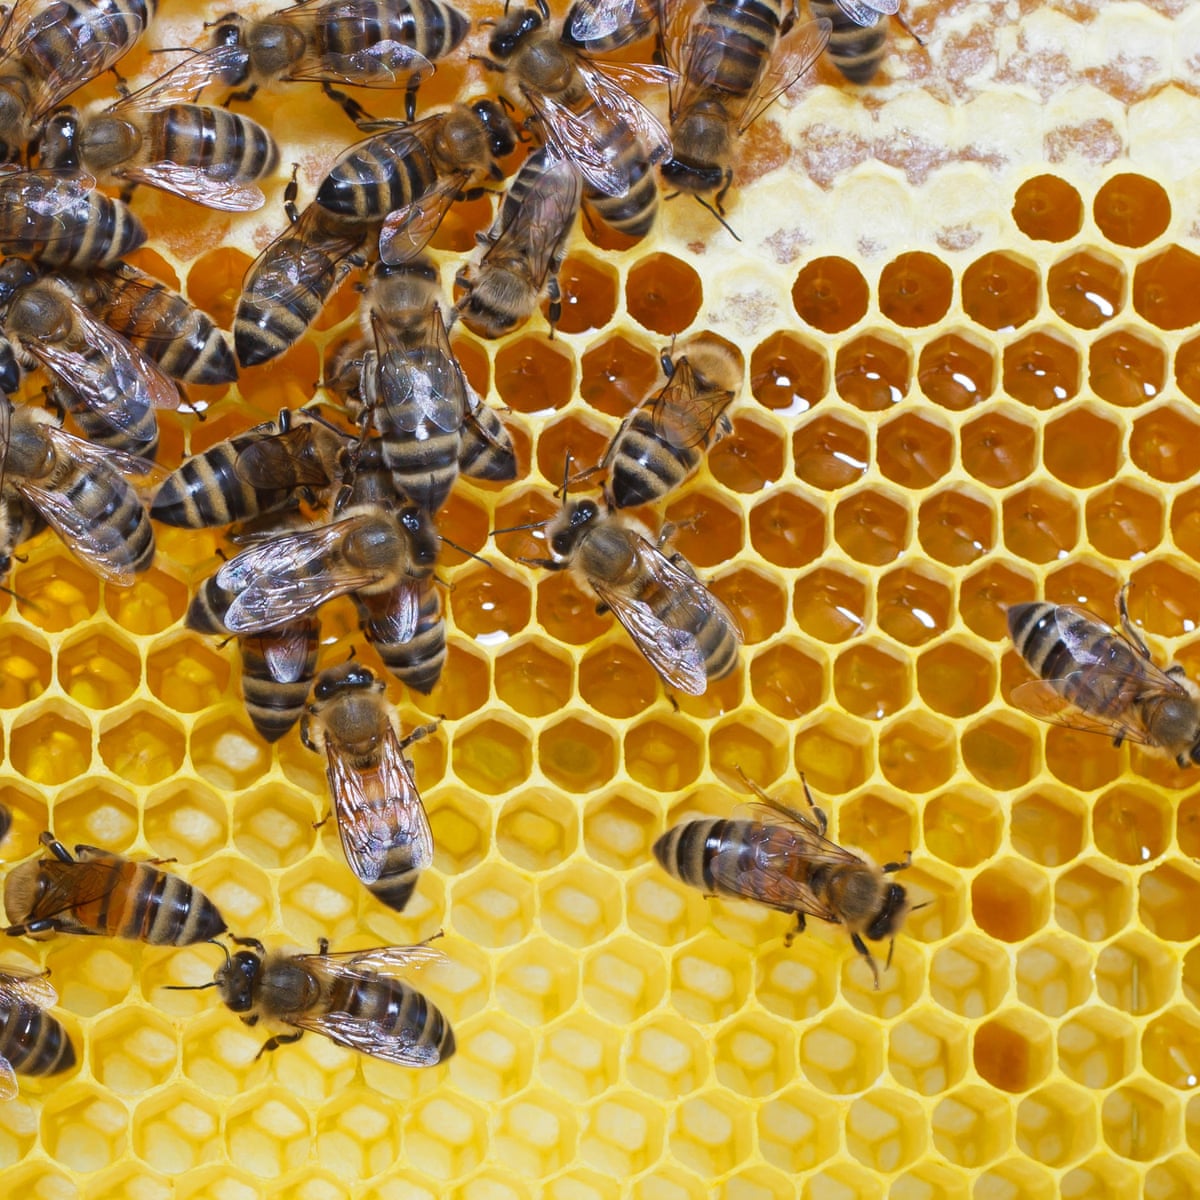
Farming Topics •
19 July 2021
Start Beekeeping in 10 Steps
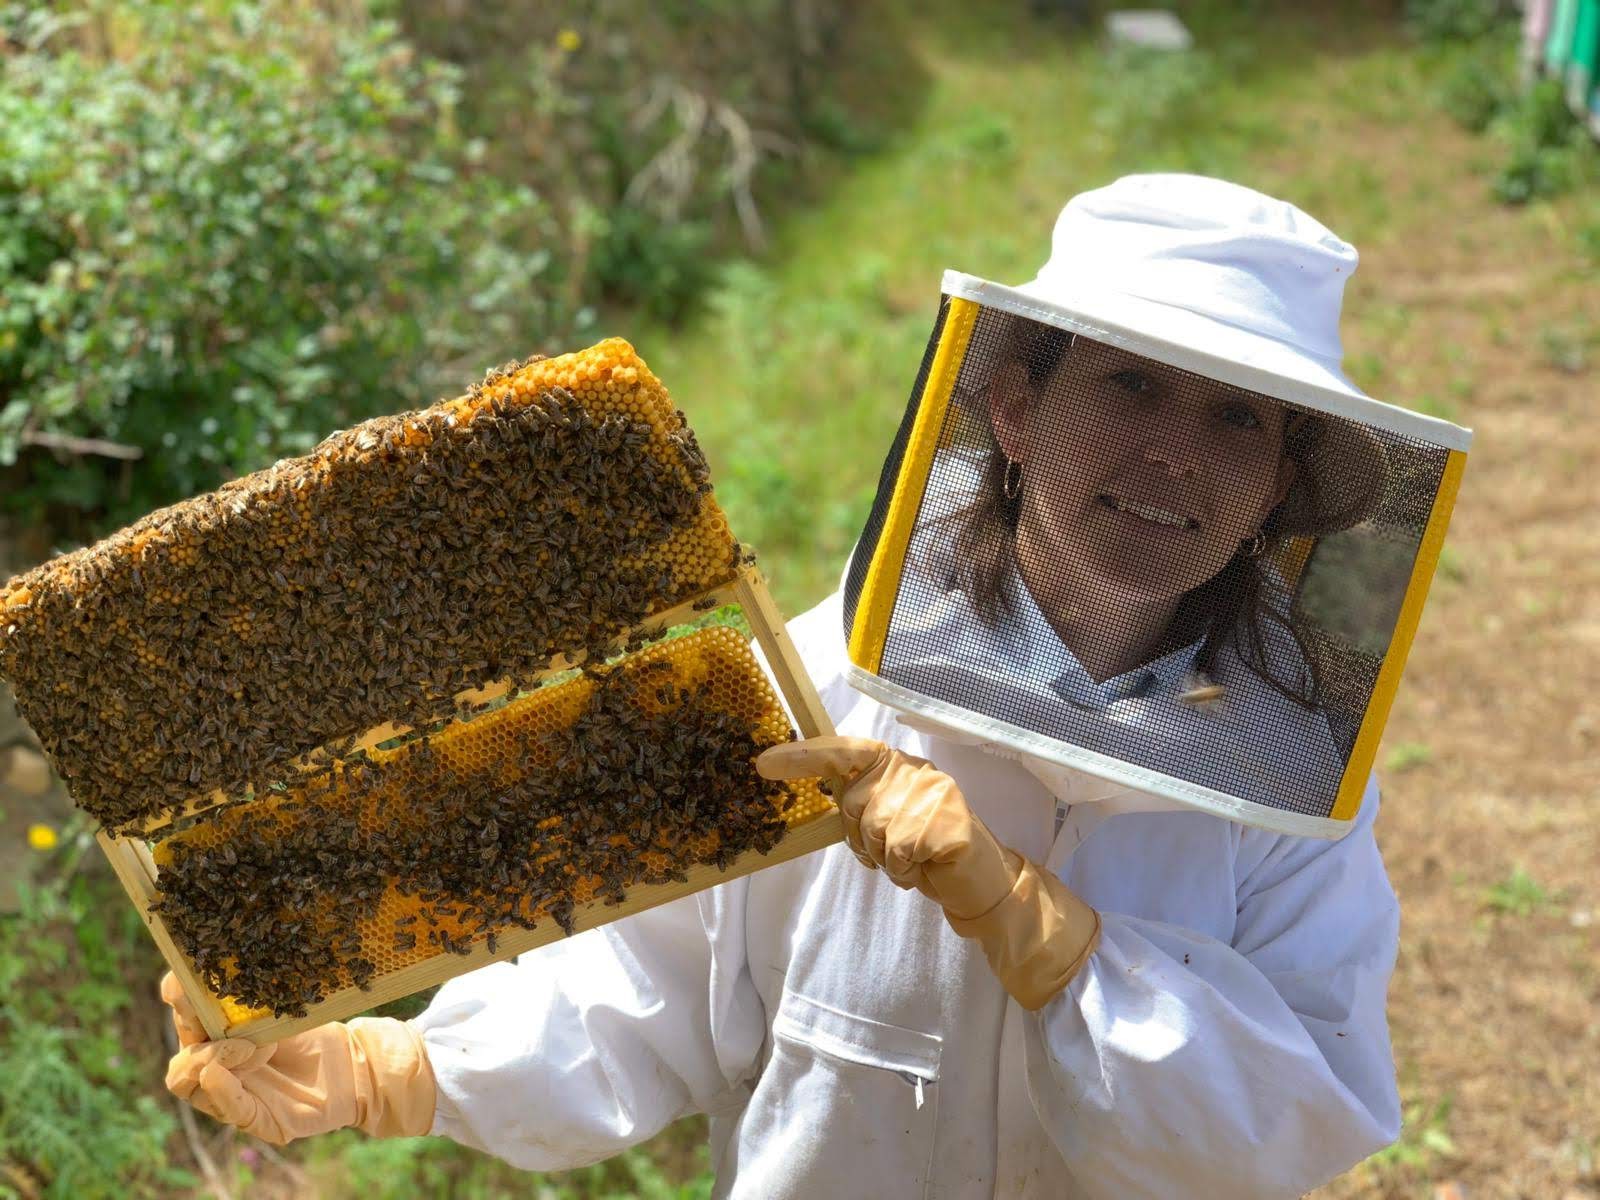
Are you interested in learning how to start beekeeping and producing your own honey? The Ontario Beekeeping Association (OBA) has a list of Five Questions To Ask Yourself to see if this is the right activity for you!
Here are 10 steps to help you get a successful start to your beekeeping journey.
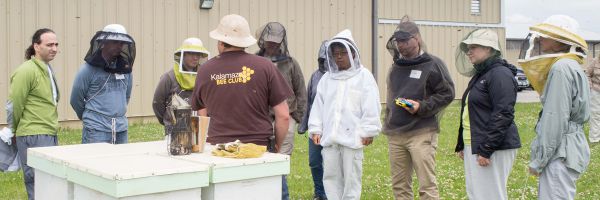
1. Join a local beekeepers association
The very best way to start beekeeping is to join a local beekeeping association. Most associations are made up of new and experienced beekeepers, and they meet regularly to share information. Most associations have beekeeping books, magazines and videos for loan, and they bring in expert speakers. You can speak with an experienced beekeeper and ask for a visit to his/her beeyard and offer to help out to get some hands-on experience.
2. Learn all you can!
It’s become more common for Ontario bee suppliers to only sell bees to people who have had some training. Sign up for one of the Ontario Beekeeper’s Association (OBA) workshops or look for a local course in your area. Then, continue your education with a few good beekeeping books and magazines, learn from the OBA’s Tech-Transfer Program, and explore the Internet.
Be aware that although there are a lot of good resources online, there is also a lot of bumpf (a technical term for really bad beekeeping advice). It’s best to choose a few recommended experts that you can relate to and listen to them.
3. Start small
It’s a good idea to start with two or three hives. This will give you an idea of what it takes to keep bees, if your location is suitable, and whether you enjoy it or not. Two or more hives are also helpful for comparing hives and for equalizing winter stores and population for successful over-wintering.
4. Make a plan
When you start beekeeping, there are a number of practical considerations:
-
How much does it cost to start up beekeeping?
-
Where can I buy bees in Ontario?
-
What kind of bees are best in Grey & Bruce?
-
What kind of equipment do I need to start beekeeping?
-
How will I manage my hives?
-
What kind of records will I keep?
When it comes to the honey production side, it doesn’t have to be fancy, but you’ll feel a lot more confident if you make a plan ahead of time.
5. Consider your equipment
There are a lot of options in beekeeping equipment, especially in hive components. You’ll want to think about your physical capacity and the pros and cons of various options. It’s a pretty significant financial investment, and you’ll be living with your choices for a long time.
The most common hive bodies used are “standard” sized Langstroth equipment, but beekeepers are also quite often using medium-sized honey boxes, and some are using 8-frame components, although they are harder to source in Canada. There is a growing interest in topbar hives as well. Check out Ontario’s local suppliers for 10-frame hives. If you are interested in 8-frame equipment, look into Brushy Mountain and Dadant in the U.S.
Invest in good-quality smoker and hive tools because you want them to last.
6. Review local by-laws and register your hives
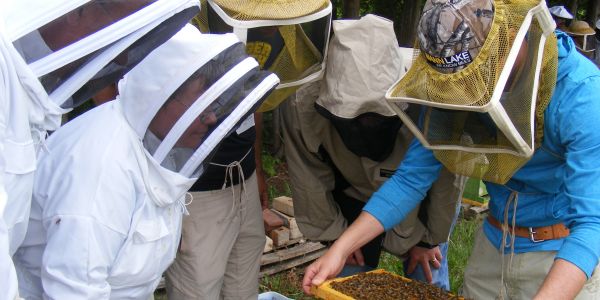
In Ontario, you are required to register your hives, and there are some important beekeeping regulations you need to know. When you register your hives, it gives the province important statistical data, and they will send you updates on recommended practices. Registration also connects you to the provincial inspectors, who are a very supportive source of expert information and advice. You can also ask the province to notify you if there is any significant pesticide spraying in your area.
7. Protect yourself
Here are a few ways to keep yourself safe when working with bees:
-
Make sure you, your family members, and close neighbours are not allergic to bee stings. Keep an Epi-pen on-site.
-
You may want to wear snug-fitting gloves until you are comfortable with bees.
-
It’s helpful to have a few clothing options on hand. You can get away with only a veil for light beekeeping (external inspections, feeding, etc.), but you’ll want a suit or jacket for full inspections. If you can afford it, look for a thick mesh suit because you won’t get stung, and they are cooler than the cotton ones. Rubber boots are good as well, especially if you have poison ivy in your beeyard.
Another important consideration is liability insurance. Even if you are just giving away your honey, your home insurance won’t likely cover you. Check with your insurer about your coverage. You may want to take advantage of OBA’s affordable group insurance to protect your personal assets.
8. Watch and learn
While courses, books, and discussions with other beekeepers are all critical in building expertise and confidence, simply paying attention to what is going on in your hives is equally important. Spend time in your beeyard. You can learn a lot by watching, listening and smelling. Take your time when doing inspections, making comparisons and watching for changes.
9. Keep notes
As you pay close attention to your bees, keep notes on what you are seeing and doing. Some beekeepers keep a journal to track what’s in bloom, the weather conditions, actions they took, what they learned, mistakes they made, and questions they have. Some use a calendar to remind them to make timely interventions.
There are also some excellent smartphone apps that you can take into the beeyard that provide a framework for what to look for during inspections.
10. Enjoy the process!
Take the time to have fun with beekeeping and give yourself a break when you make mistakes. Beekeeping is one of the most enjoyable and interesting activities, but even seasoned beekeepers will tell you that it’s forever a work-in-progress. Do your best, keep learning, keep going, and have fun! Good luck!
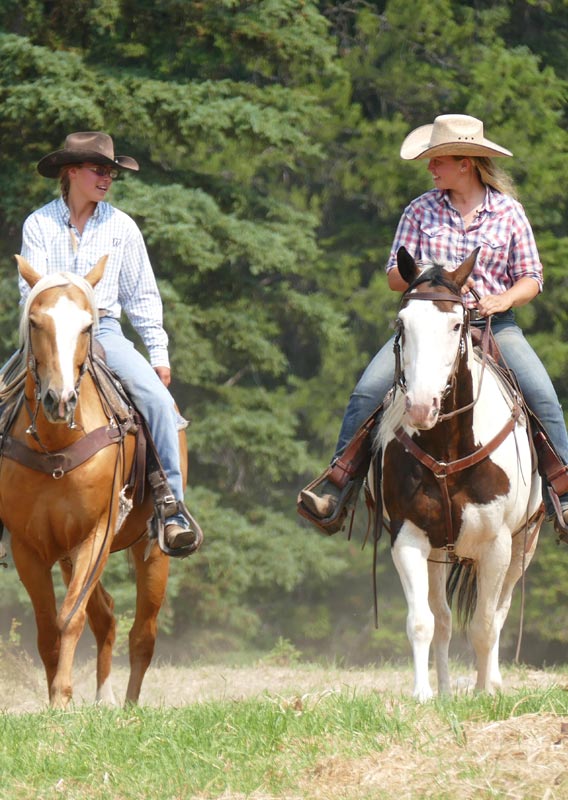
Farming Topics • Horse Topics •
16 July 2021
10 Tips for Horse Trail Riding
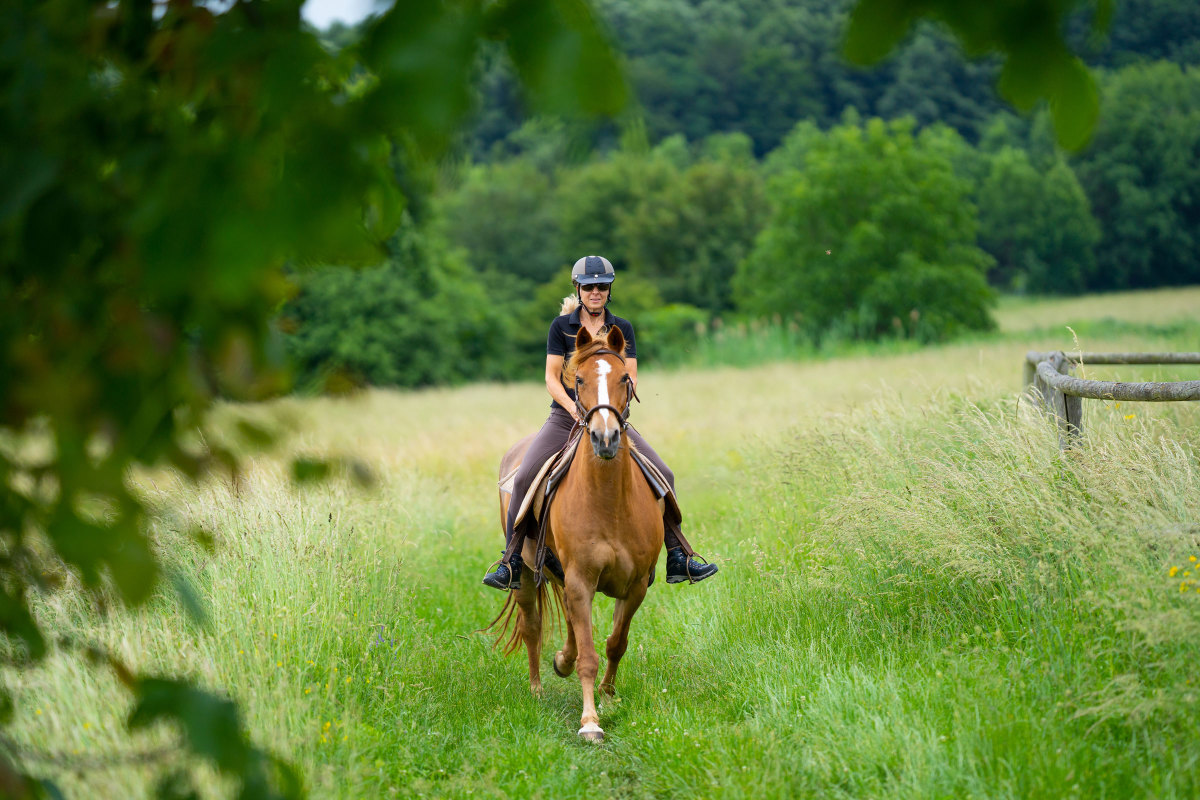
Each spring when the warm weather returns and horse enthusiasts get excited about riding the trails again, many wind up getting dumped on their first ride of the season. When your horse is well prepared, trail rides go much better.
Are you a new rider and wondering how to get started with trail riding? Here are my 10 favourite tips to help you and your horse get ready this year.
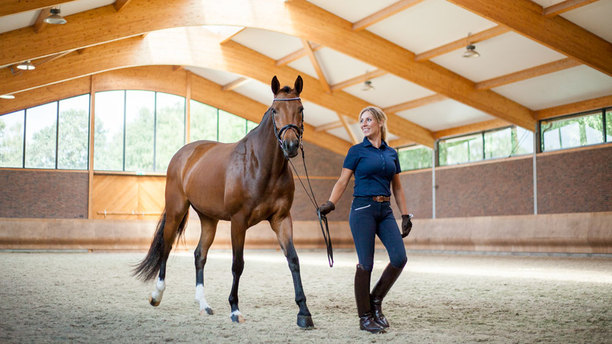
Re-establish the riding routine
If you’ve been off your horse for weeks or months, a trail ride is not the best way to return to the saddle. Horses learn and remember well, but they get rusty just like us when we haven’t done something in a while.
Establish a regular riding routine to re-train your horse’s responses and respectfulness. Start getting your horse accustomed to riding by reintroducing things slowly. When you’re on the trail, additional distractions like other horses will test your control of your mount.
Deal with any horse issues
If you run into specific problems in your schooling rides, deal with them in the arena or close to home before you go out on a trail. Is your horse being resistant or bullying you? Take steps to correct their behaviour and don’t make excuses for them.
Practise easy trails
Explore your own area first with a trusted companion or two. Let your horse get used to being next to, in front, and behind another horse. Then practise being a few horse-lengths behind, which is a tough one. Practise crossing water, stepping over logs, and going up and down hills. Work out any problems in a controlled environment before you attempt new trails your horse has never seen before.
Be realistic about your horse’s abilities
Is your horse ready for the type of ride you want to do? Maybe he’s not and he would benefit from more training in the arena and on practice rides.
Gear up with proper equipment
You might want to consider special gear to help your ride go smoother:
-
A breast collar and a back cinch can prevent saddle slippage that might alarm your horse or unseat you
-
A well-adjusted running martingale will help keep your reins in place during a bumpy part of a ride
-
A mecate-rein setup or a longe line tucked into your saddlebag can help your horse relax
Pick good riding partners
Ride only with friends who know proper trail manners and can control their horses.
")
